Setting Up Your First Node.js Application Step-by-Step
Introduction
If you want to build fast and scalable backend applications using JavaScript, then Node.js is one of the best technologies to learn. It allows developers to run JavaScript outside the browser and create servers, APIs, command-line tools, and real-time applications.
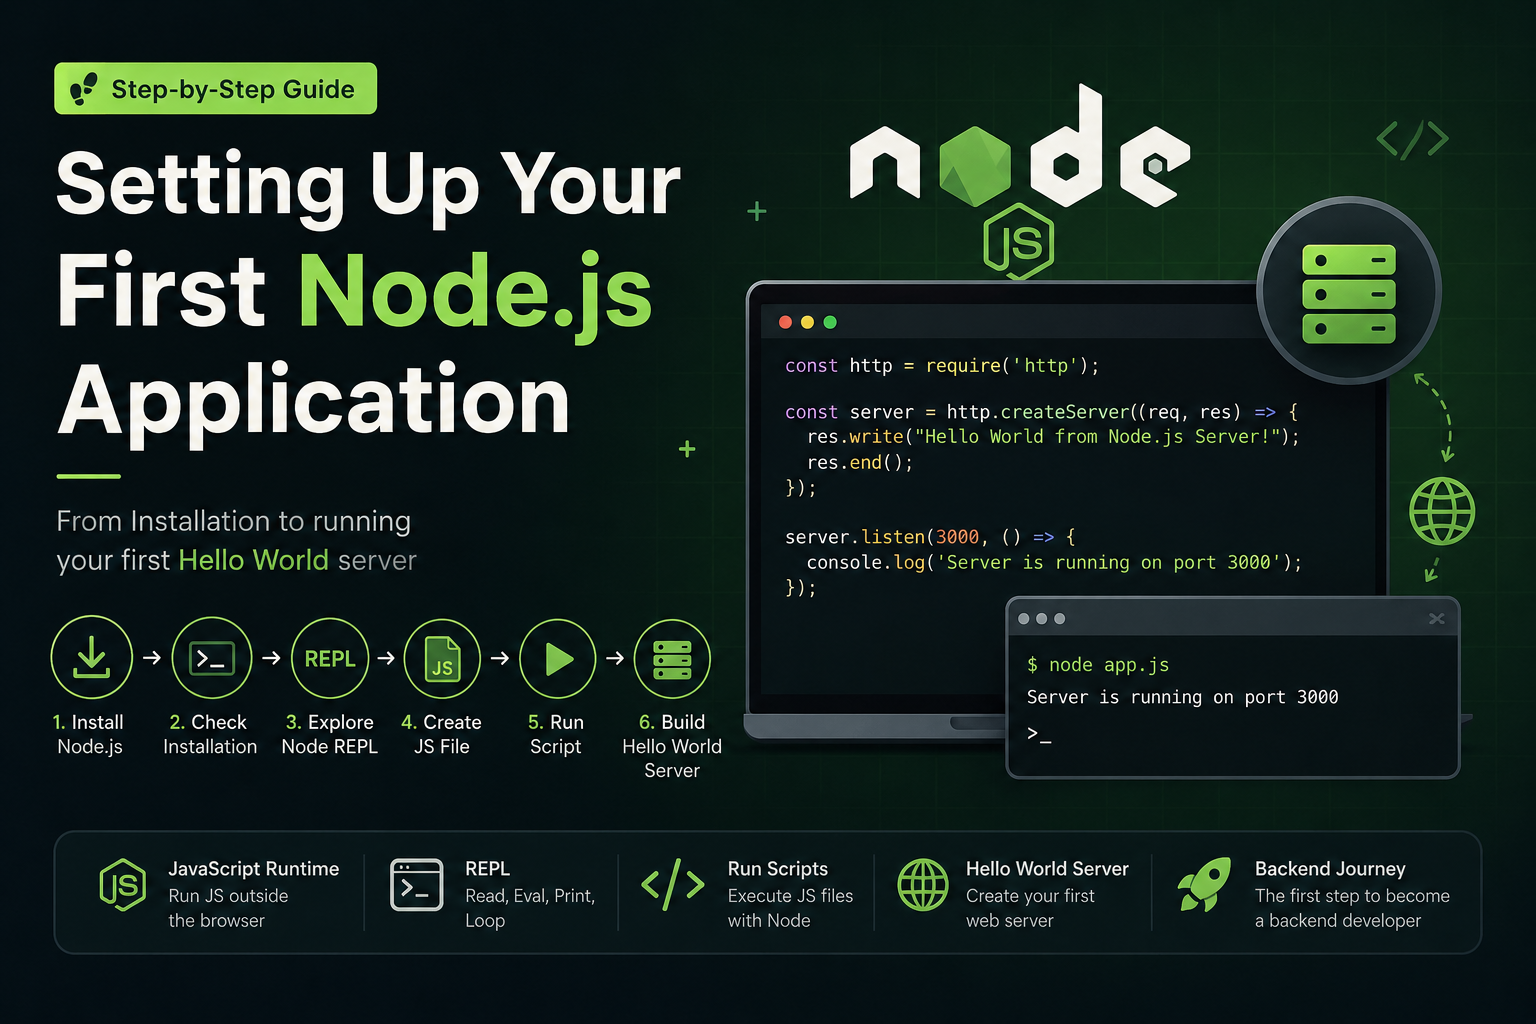
In this article, we will learn how to set up your very first Node.js application from scratch. We will cover installation, understanding the Node REPL, creating JavaScript files, running scripts, and building a simple Hello World server.
By the end of this guide, you will have your first working Node.js application running successfully.
What is Node.js?
Node.js is an open-source JavaScript runtime environment built on Chrome’s V8 JavaScript engine. It allows JavaScript code to run outside the browser.
With Node.js, developers can:
Build backend servers
Create REST APIs
Work with databases
Build real-time applications
Create command-line tools
Why Learn Node.js?
Some major advantages of Node.js are:
Fast execution using the V8 engine
Non-blocking asynchronous architecture
JavaScript for both frontend and backend
Large npm ecosystem
Scalable for modern applications
Step 1: Installing Node.js
Before writing any Node.js application, we need to install Node.js on our system.
Download Node.js
Visit the official Node.js website:
You will see two versions:
1. LTS (Recommended)
Stable version
Best for beginners and production applications
2. Current
Latest features
Experimental updates
For beginners, always install the LTS version.
Installation Process
The installation process is mostly the same for all operating systems:
Download the installer
Run the setup file
Click Next through the installation wizard
Finish installation
Node.js installation also installs:
npm (Node Package Manager)
Node runtime
Step 2: Checking Node.js Installation
After installation, open your terminal or command prompt and run:
node -v
Example output:
v22.1.0
This confirms Node.js is installed successfully.
Now check npm:
npm -v
Example output:
10.7.0
Understanding the Terminal
You will use the terminal frequently while working with Node.js.
Common terminals:
| Operating System | Terminal |
|---|---|
| Windows | Command Prompt / PowerShell |
| macOS | Terminal |
| Linux | Terminal |
Step 3: Understanding Node REPL
Before creating files, it is important to understand the Node REPL.
What is REPL?
REPL stands for:
Read
Eval
Print
Loop
It is an interactive environment where Node.js reads your code, executes it, prints the output, and waits for the next command.
You can think of it like a JavaScript playground inside the terminal.
Starting the REPL
Open terminal and type:
node
You will see something like:
>
Now you can execute JavaScript directly.
Example:
> 5 + 5
10
Another example:
> const name = "Vishal"
undefined

> name
'Vishal'
To exit REPL:
.exit
or press:
CTRL + C
(two times)
Why REPL is Useful
REPL is useful for:
Testing JavaScript quickly
Debugging small logic
Learning Node.js basics
Trying functions instantly
Step 4: Creating Your First JavaScript File
Now let’s create our first Node.js program.
Create a folder named:
my-first-node-app
Inside the folder, create a file:
app.js
Add the following code:
console.log("Hello from Node.js!");
Step 5: Running Your First Node.js Script
Open terminal inside the project folder.
Run this command:
node app.js
Output:
Hello from Node.js!
Congratulations 🎉
You have successfully executed your first Node.js application.
How Node.js Executes Your Script
Here is the basic execution flow:
JavaScript File (app.js)
        ↓
Node.js Runtime
        ↓
Executes Code
        ↓
Displays Output in Terminal
Script → Runtime → Output Flow Diagram
[ app.js ]
     ↓
[ Node.js Runtime ]
     ↓
[ V8 JavaScript Engine ]
     ↓
[ Terminal Output ]
Step 6: Writing Your First Hello World Server
Now let’s create a simple web server using Node.js.
Replace the content of app.js with this:
const http = require("http");

const server = http.createServer((req, res) => {
    res.write("Hello World from Node.js Server!");
    res.end();
});

server.listen(3000, () => {
    console.log("Server is running on port 3000");
});
Understanding the Code
1. Importing HTTP Module
const http = require("http");
Node.js has built-in modules. Here we import the HTTP module to create a server.
2. Creating the Server
const server = http.createServer((req, res) => {

});
This creates a web server.
Parameters:
req→ Request objectres→ Response object
3. Sending Response
res.write("Hello World from Node.js Server!");
This sends text to the browser.
4. Ending the Response
res.end();
Ends the server response.
5. Listening on Port
server.listen(3000);
The server runs on port 3000.
Running the Server
Run:
node app.js
Output:
Server is running on port 3000
Now open your browser and visit:
http://localhost:3000
You will see:
Hello World from Node.js Server!
Node.js Server Execution Flow
Browser Request
       ↓
Node.js Server
       ↓
Processes Request
       ↓
Sends Response
       ↓
Browser Displays Output
Important Beginner Tips
1. Save Files Before Running
Always save your JavaScript file before executing it.
2. Use Meaningful File Names
Examples:
server.js
app.js
index.js
3. Read Error Messages Carefully
Node.js errors usually explain:
line number
file name
problem type
4. Practice Using Terminal
Terminal usage becomes extremely important in backend development.
Common Beginner Mistakes
| Mistake | Solution |
|---|---|
| node command not found | Reinstall Node.js |
| Forgot to save file | Save before running |
| Wrong file path | Navigate to correct folder |
| Port already in use | Change port number |
Advantages of Starting with Pure Node.js
In this article we intentionally avoided frameworks like Express.js because understanding pure Node.js helps you:
Learn backend fundamentals
Understand server creation
Learn request-response cycle
Understand how frameworks work internally
Conclusion
Setting up your first Node.js application is the beginning of backend development using JavaScript. In this article, we learned:
How to install Node.js
How to verify installation
What Node REPL is
How to create JavaScript files
How to run scripts using Node
How to build a Hello World server
Node.js is simple to start with but powerful enough to build large-scale applications.
Once you are comfortable with these basics, you can move on to:
npm packages
Express.js
APIs
Databases
Authentication
Real-time applications
Keep practicing and experimenting with small projects to improve your Node.js skills.
Happy Coding 🚀